Digitizing My '80s High School Rock Band Tapes with the Tascam 388 and DP-24SD
Preserving My High School Rock Band's Legacy: How I Saved Our Reel-to-Reel Tapes
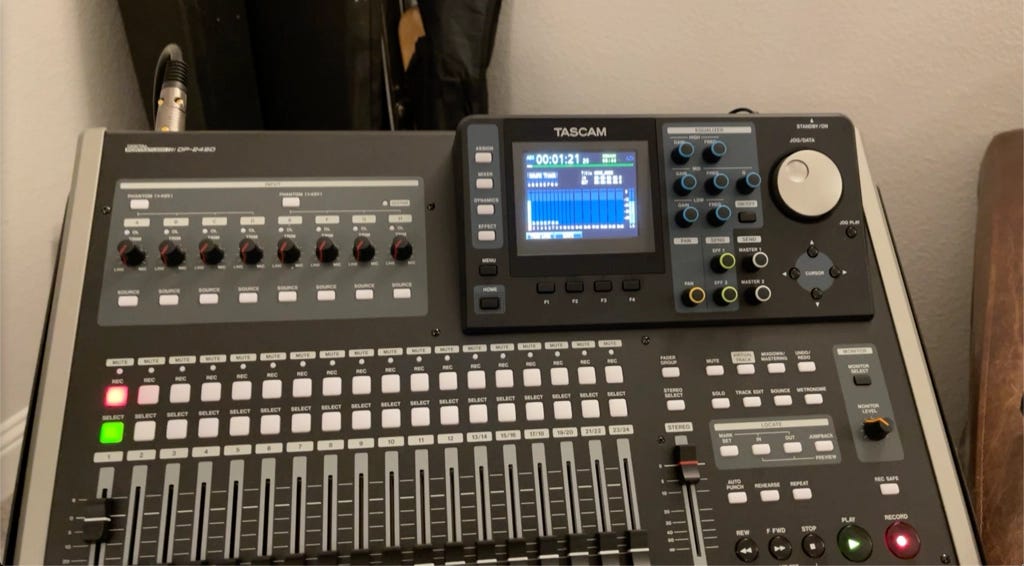
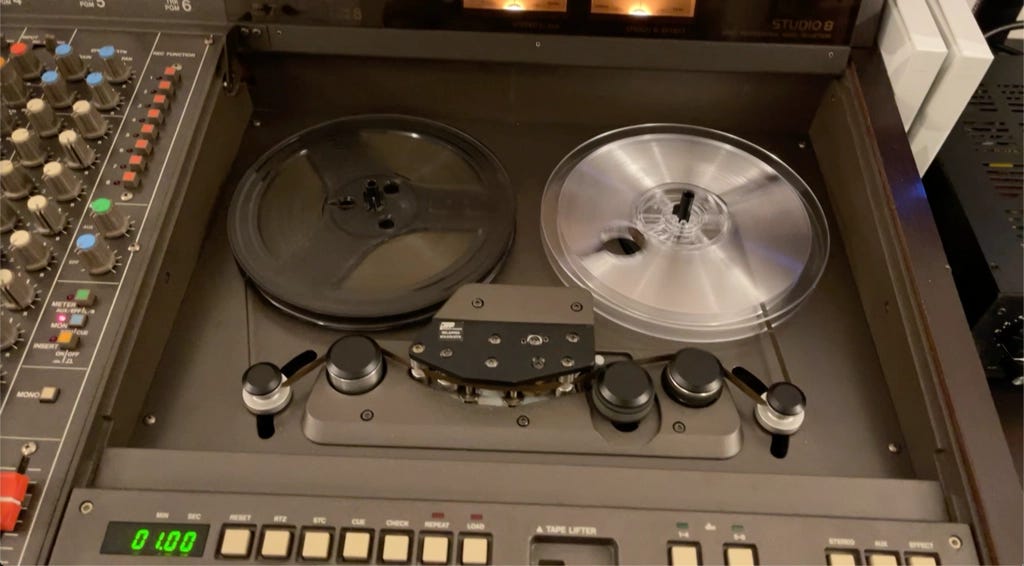
I recently discovered 30-year-old reel-to-reel recordings of my high school rock band, and I decided to preserve them forever using my Tascam 388 and DP-24SD. If you're curious about the process, keep reading!
Unearthing a Treasure Trove
I was thrilled when I stumbled upon three reel-to-reel tapes from my teenage years, which included songs performed by my high school rock band. However, these tapes had been stored in a hot Texas garage for over 20 years. While excited, I was also worried that the extreme conditions might have rendered the recordings unplayable.
Adding to the challenge, these tapes were originally recorded on a Pioneer RT-701 stereo reel-to-reel, a machine I no longer own. Fortunately, my Tascam 388 also uses 1/4" tape, so I decided to give it a try. To my surprise, the tapes hadn't degraded, and the sound quality was still excellent. I knew I had to digitize these recordings immediately to preserve them and share them with my former bandmates.
The Digitization Process
To digitize the tapes, I chose the Tascam DP-24SD because of its straightforward setup and operation. Although I appreciate modern software's capabilities, I love the tactile, hands-on experience that comes with using vintage equipment.

Equipment Setup
The Pioneer RT-701 was a two-track stereo recorder, so I needed to find a way to transfer the sound from two tracks to my eight-track Tascam 388. Luckily, both devices record and play back at 3 3/4 inches per second, which simplified the process. I just had to figure out the track mapping.
Aligning Tracks
I loaded the first tape onto the Tascam 388, raised all the faders, and pressed play. After listening for a while, I adjusted the faders to identify the strongest audio signals. The sound appeared on tracks 1 and 6, likely representing the left and right channels from the RT-701.
Although the Pioneer recorder is a stereo machine, most recordings were made with a single room microphone, possibly a Realistic brand stereo mic. This setup provided some stereo imaging, but on some tracks, one stereo channel was louder than the other. To achieve the best possible sound, I took the signal from the Tascam 388 mains and enabled the Mono option, ensuring a strong, unified signal.
Adjusting Audio Levels
Another challenge was managing the varying audio levels between takes. Sometimes, I would leave the recorder running before and after a song, capturing faint sounds of us joking around. I wanted to keep these low-volume sections without compromising the overall recording quality. To achieve this, I ran the main audio signal from the Tascam 388 through my Golden Age Project Comp-2A compressor, which allowed me to boost quieter sections without causing the digital signal to clip on the Tascam DP-24SD.
Once I addressed these concerns, I created a new song on the DP-24SD, armed track 1, and played back the first side of the tape. After confirming that the volume and compression levels were correct, I rewound the tape and began the digitization process.
Watching the Golden Age Project Comp-2A compressor in action was a delight, and its smooth performance added to the experience.
Completing the Digitization
After recording one side, I flipped the tape and repeated the process for the other side. Fortunately, the track settings remained consistent, requiring only minor volume adjustments.
A Minor Setback and a Quick Fix
While digitizing the second tape, the tape snapped. At first, I panicked, but then I realized it was just an old splice that had failed. After watching a few instructional videos on tape splicing, I ordered a tape splicing kit. Once it arrived, I easily repaired the tape and resumed the digitization.
The Final Result
Now, I have a pristine digital copy of my 30-year-old reel-to-reel tapes. I've backed up the SD card from the DP-24SD, and I'm considering further processing, such as removing long blank spaces between takes or applying equalization, compression, or normalization using the DP-24's mastering tools. Thankfully, I don't have to rush these decisions because I now have a digital copy that I can refine at my own pace.
Here’s a few of our more popular original songs from high school:
Black Ghost
I Needed You
So what do you think? Let me know in the comments below.
Fun fact! My Florida high school band was set to appear on the then-famous show Star Search when our bass player decided to drop out. For those who didn’t grow up in the '80s, Star Search was the American Idol or America’s Got Talent of its day. In hindsight, we probably should have just found another bass player and entered the contest…
Your Turn to Engage!
What do you think? Is there a better way to digitize old recordings? Do you have any analog recordings on cassette or reel-to-reel you'd like to preserve? Share your thoughts or experiences in the comments below or in Notes or Chat!
Don’t Miss A Beat!
Thank you for reading! If you enjoyed this post and want to dive deeper into the world of retro technology, don't forget to subscribe to the Retrothusiast Substack. Join our community, engage in lively discussions, and stay updated with all the latest articles, insights, and behind-the-scenes content.
Also, be sure to visit and subscribe to the Retrothusiast YouTube channel for more videos on retro computers, music production, and vintage tech. By subscribing, you'll get notified of new content, and you can join the conversation with other enthusiasts in the comments!
I'm Matt with Retrothusiast. Looking forward to seeing you on Substack and YouTube! Until next time, take care!


